Setup guide - aws
wrenderer | CloudFront integration | on premise setup guide
This guide will walk you through the steps to set up wrenderer in an AWS environment using AWS CloudFormation templates.
Prerequisites
-
Domain to host wrenderer service, e.g.
wrenderer.example.com - Docker image of wrenderer.
-
CloudFormation templates under
setup/aws-lambdadirectory from wrenderer GitHub repository
Use pre-built image
Pull the pre-built image from Docker Hub.
docker pull liuminhaw/wrenderer:latest
Build manually
Clone wrenderer git repository.
git clone --depth 1 [email protected]:liuminhaw/wrenderer.git && cd wrenderer
Build docker image.
docker build -t wrenderer .
Setup steps
All environment resources will be created using CloudFormation templates provided in the setup/aws-lambda directory. Choose a name for your wrenderer setup, wrenderer-demo will be use as the ${Name} for demonstration purpose in this guide, you can replace it with your own setting.
Note: All CloudFormation stacks created in this guide should be in the same AWS region unless the step has specific region requirement.
Step 1 - Create ECR repository
Create ECR with template: setup/aws-lambda/wrenderer-img.yaml.
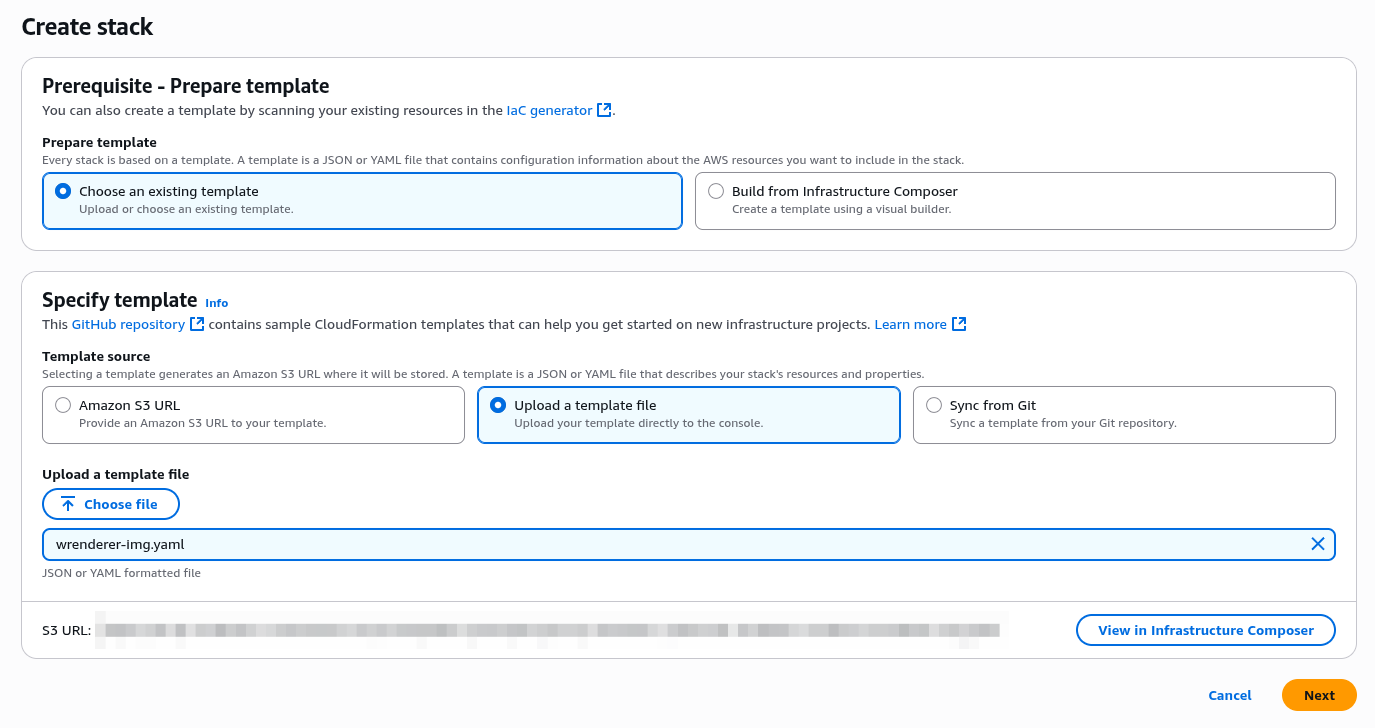
Specify stack name and parameters
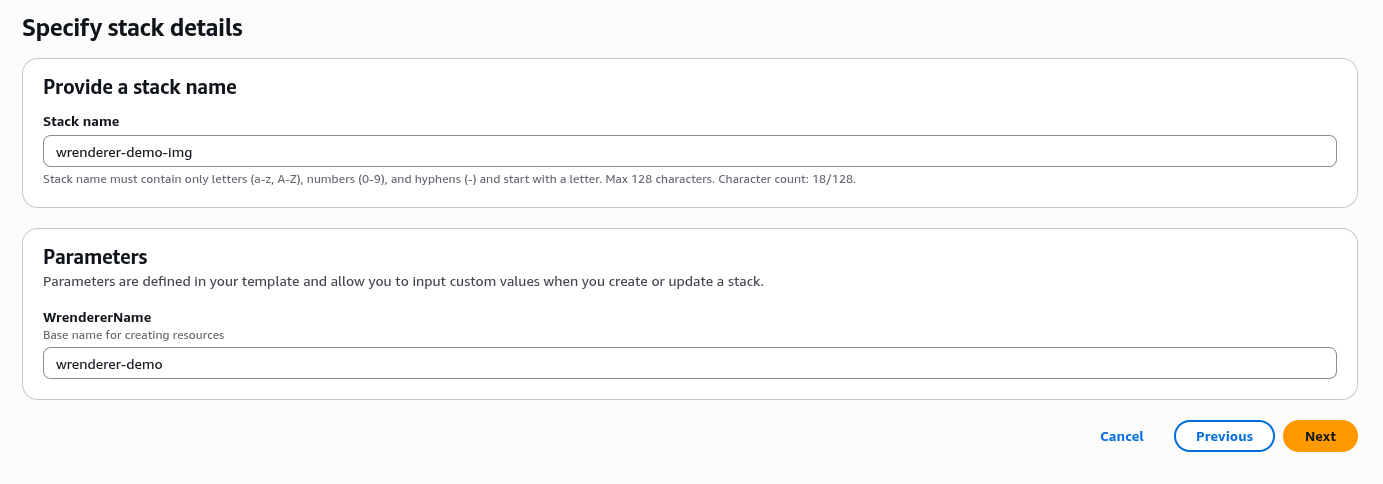
Stack name: ${Name}-img
Parameters:
-
WrendererName:
${Name}
Configure stack options: Keep the default options or change as required.
Review and create stack: Review the configuration and create the stack.
A stack with name ${Name}-img with status CREATE_COMPLETE should be seen in CloudFormation Stacks page once creation is complete.

Step 2 - Upload wrenderer image to ECR
Upload wrenderer docker image to ECR repository created in step 1. Push commands can be found in the ECR repository console page.

Step 3 - Create wrenderer function
Create environemnt resources with template: setup/aws-lambda/wrenderer-main.yaml.
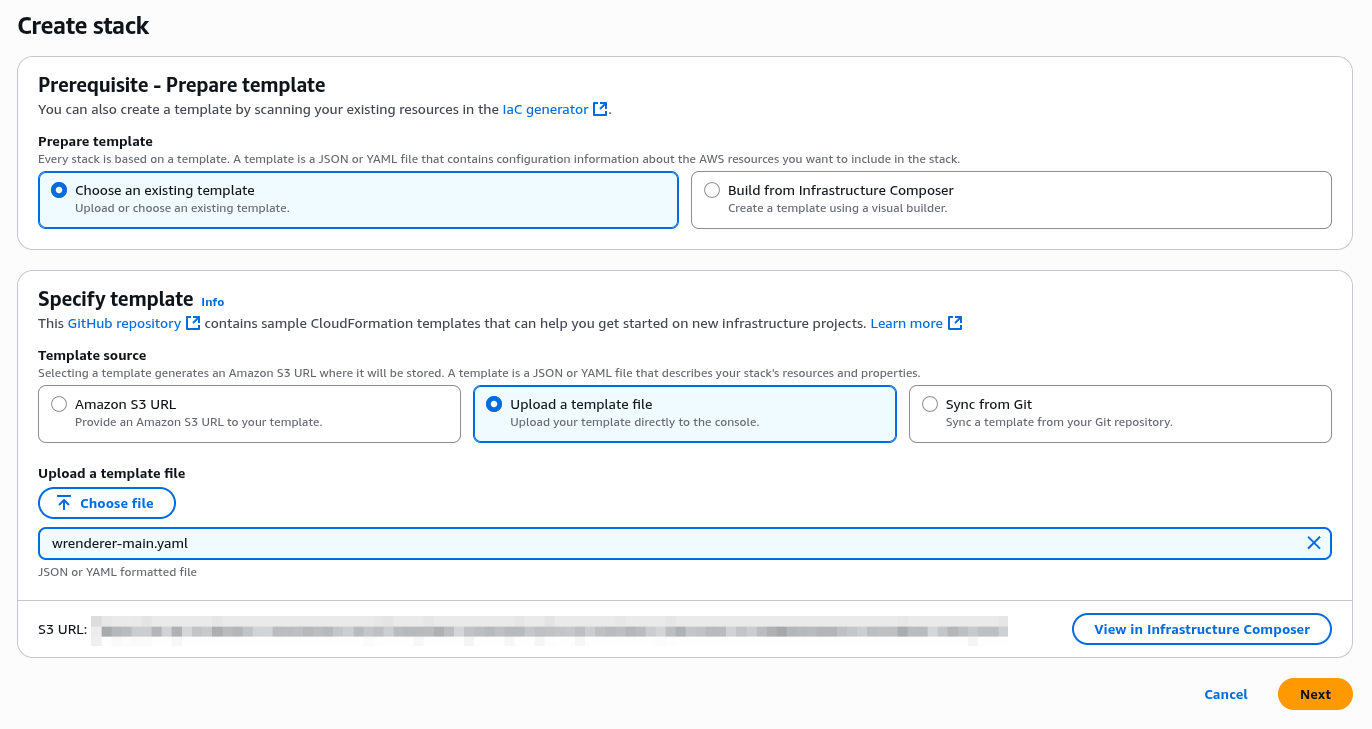
Specify stack name and parameters

Stack name: ${Name}
Parameters:
-
WrendererName:
${Name}
-
WrendererImageDigest: ECR image digest
sha256:...(can be found in ECR repository page)
-
WrendererFunctionMemory: recommended to be at least
4096(in MB) - Other parameters can be left as default or changed as required.
Configure stack options: Keep the default options or change as required.
Review and create stack: Review the configuration and create the stack.
A stack with name ${Name} with status CREATE_COMPLETE should be seen in CloudFormation Stacks page once creation is complete.

Step 4 - Create ACM certificate
Generate SSL certificate in us-east-1 (N. Virginia) region for CloudFront distribution.
This step is required only if no certificate for the domain hosting wrenderer service exist in
us-east-1AWS Certificate Manager.
Set aws region: change region to us-east-1 (N. Virginia)

Generate SSL certificate with template: setup/aws-lambda/wrenderer-acm.yaml.
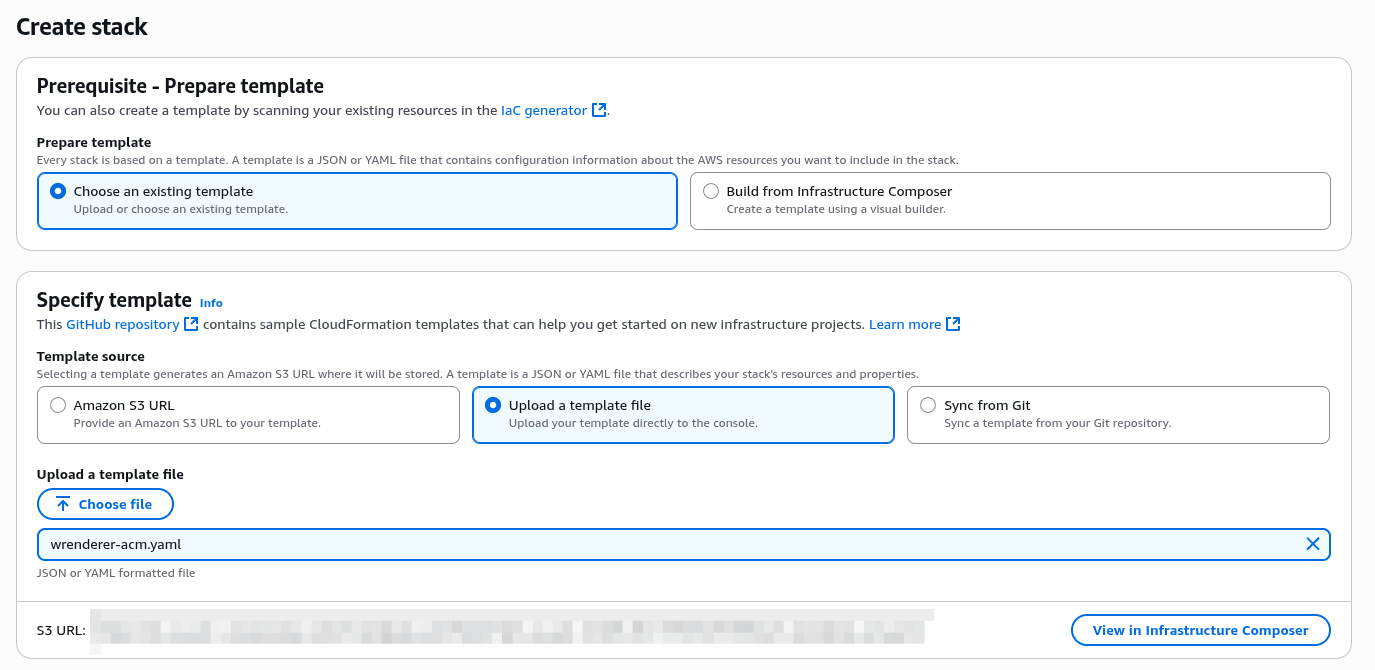
Specify stack name and parameters
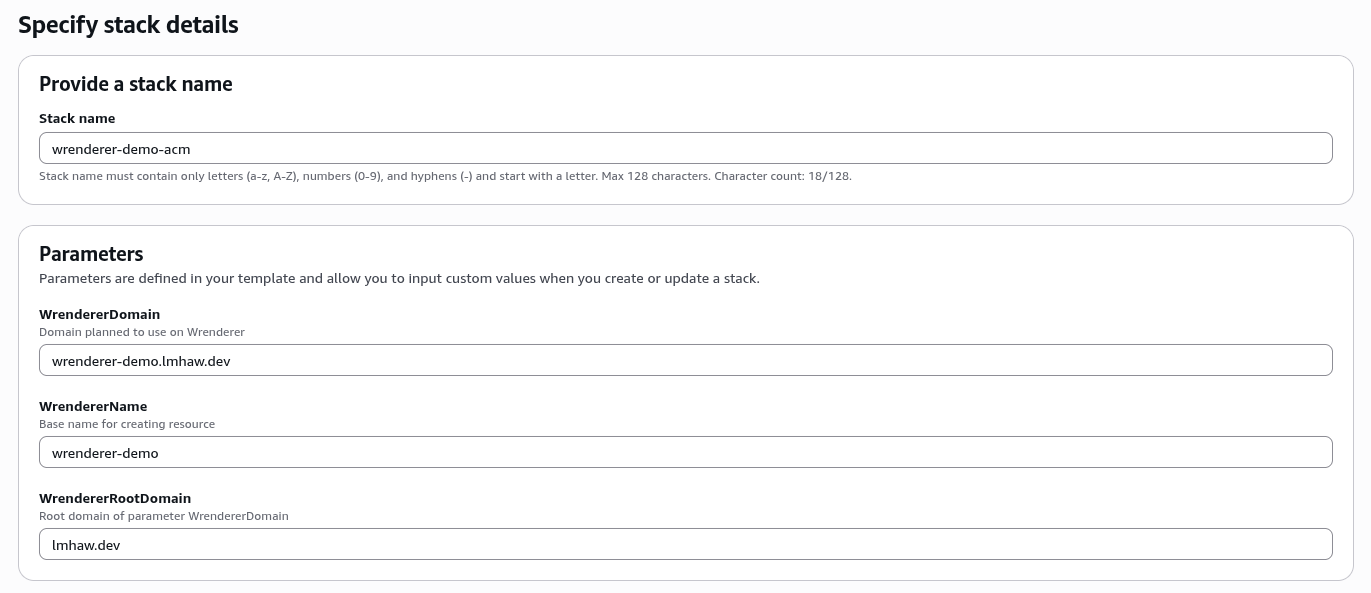
Stack name: ${Name}-acm
Parameters:
-
WrendererName:
${Name} - WrendererDomain: Domain which wrenderer planned to be hosted
-
WrendererRootDomain: Root domain of
WrendererDomain
Configure stack options: Keep the default options or change as required.
Review and create stack: Review the configuration and create the stack.
DNS validation: CloudFormation will pause for DNS validation, set DNS record according to the value shown in events view and the progress will continue after the record is validated.

A stack with name ${Name}-acm with status CREATE_COMPLETE should be seen in CloudFormation Stacks page once creation is complete.

Step 5 - Create CloudFront distribution
Set aws region: change region to us-east-1 (N. Virginia)

Create CloudFront distribution with template: setup/aws-lambda/wrenderer-cdn.yaml.
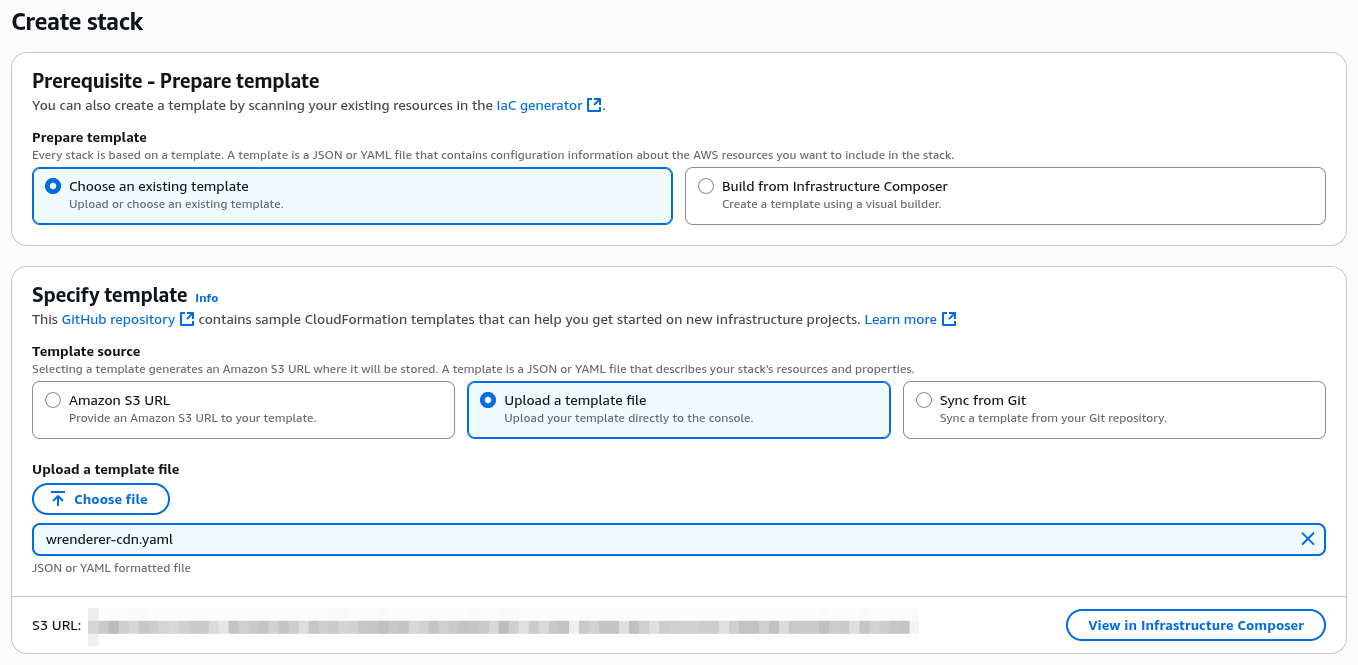
Stack name: ${Name}-cdn

Parameters:
-
WrendererName:
${Name} -
WrendererApiDomain: API Gateway domain associate with the wrenderer lambda function. Value can be found in the output
WrendererRestApiDomainof the wrenderer main stack created in step 3
-
WrendererApiStage: API Gateway stage associate with the wrenderer lambda function. Value can be found in the output
WrendererApiDeploymentStageof the wrenderer main stack created in step 3
-
WrendererBucketDomain: S3 bucket's domain that stored output cache. Value can be found in the output
WrendererBucketRegionalDomainof the wrenderer main stack created in step 3
-
WrendererCertificateArn: Certificate ARN of the domain hosting wrenderer service. If the certificate is created in step 4, value can be found in the output
WrendererCertificateArnof the ACM stack.
- WrendererDomain: Domain which wrenderer will be hosted.
Configure stack options: Keep the default options or change as required.
Review and create stack: Review the configuration and create the stack.
A stack with name ${Name}-cdn with status CREATE_COMPLETE should be seen in CloudFormation Stacks page once creation is complete.

Step 6 - Set DNS record
Get the domain name of the CloudFront distribution created in step 5 from the output WrendererDistributionDomain of the CloudFront stack and point your domain to this domain name with a CNAME record.

Usage
Once DNS changes have propagated, wrenderer service should be accessible at the domain specified. You can start making requests to the API. Refer to the API documentation for available endpoints and usage.
Obtain api key from API Gateway console under API keys section.

Middlewares
Add middleware to your application for forwarding bot requests to the wrenderer service.
- See CloudFront integration for setting up integration on application using AWS CloudFront as CDN